> ## Documentation Index
> Fetch the complete documentation index at: https://docs.lendflow.com/llms.txt
> Use this file to discover all available pages before exploring further.
# Integration Tokens
## Integration Tokens
Integration Tokens allow an external tool to access Lendflow on your behalf. Each token has its own permissions, expiration, and optional rate limit, so you can control what the connected tool is allowed to do.
Lendflow MCP requires an Integration Token.
An Integration Token does not provide access beyond your Lendflow account. The connected tool can access only the data and actions allowed by both your user role and the permissions selected for the token.
## Create an Integration Token
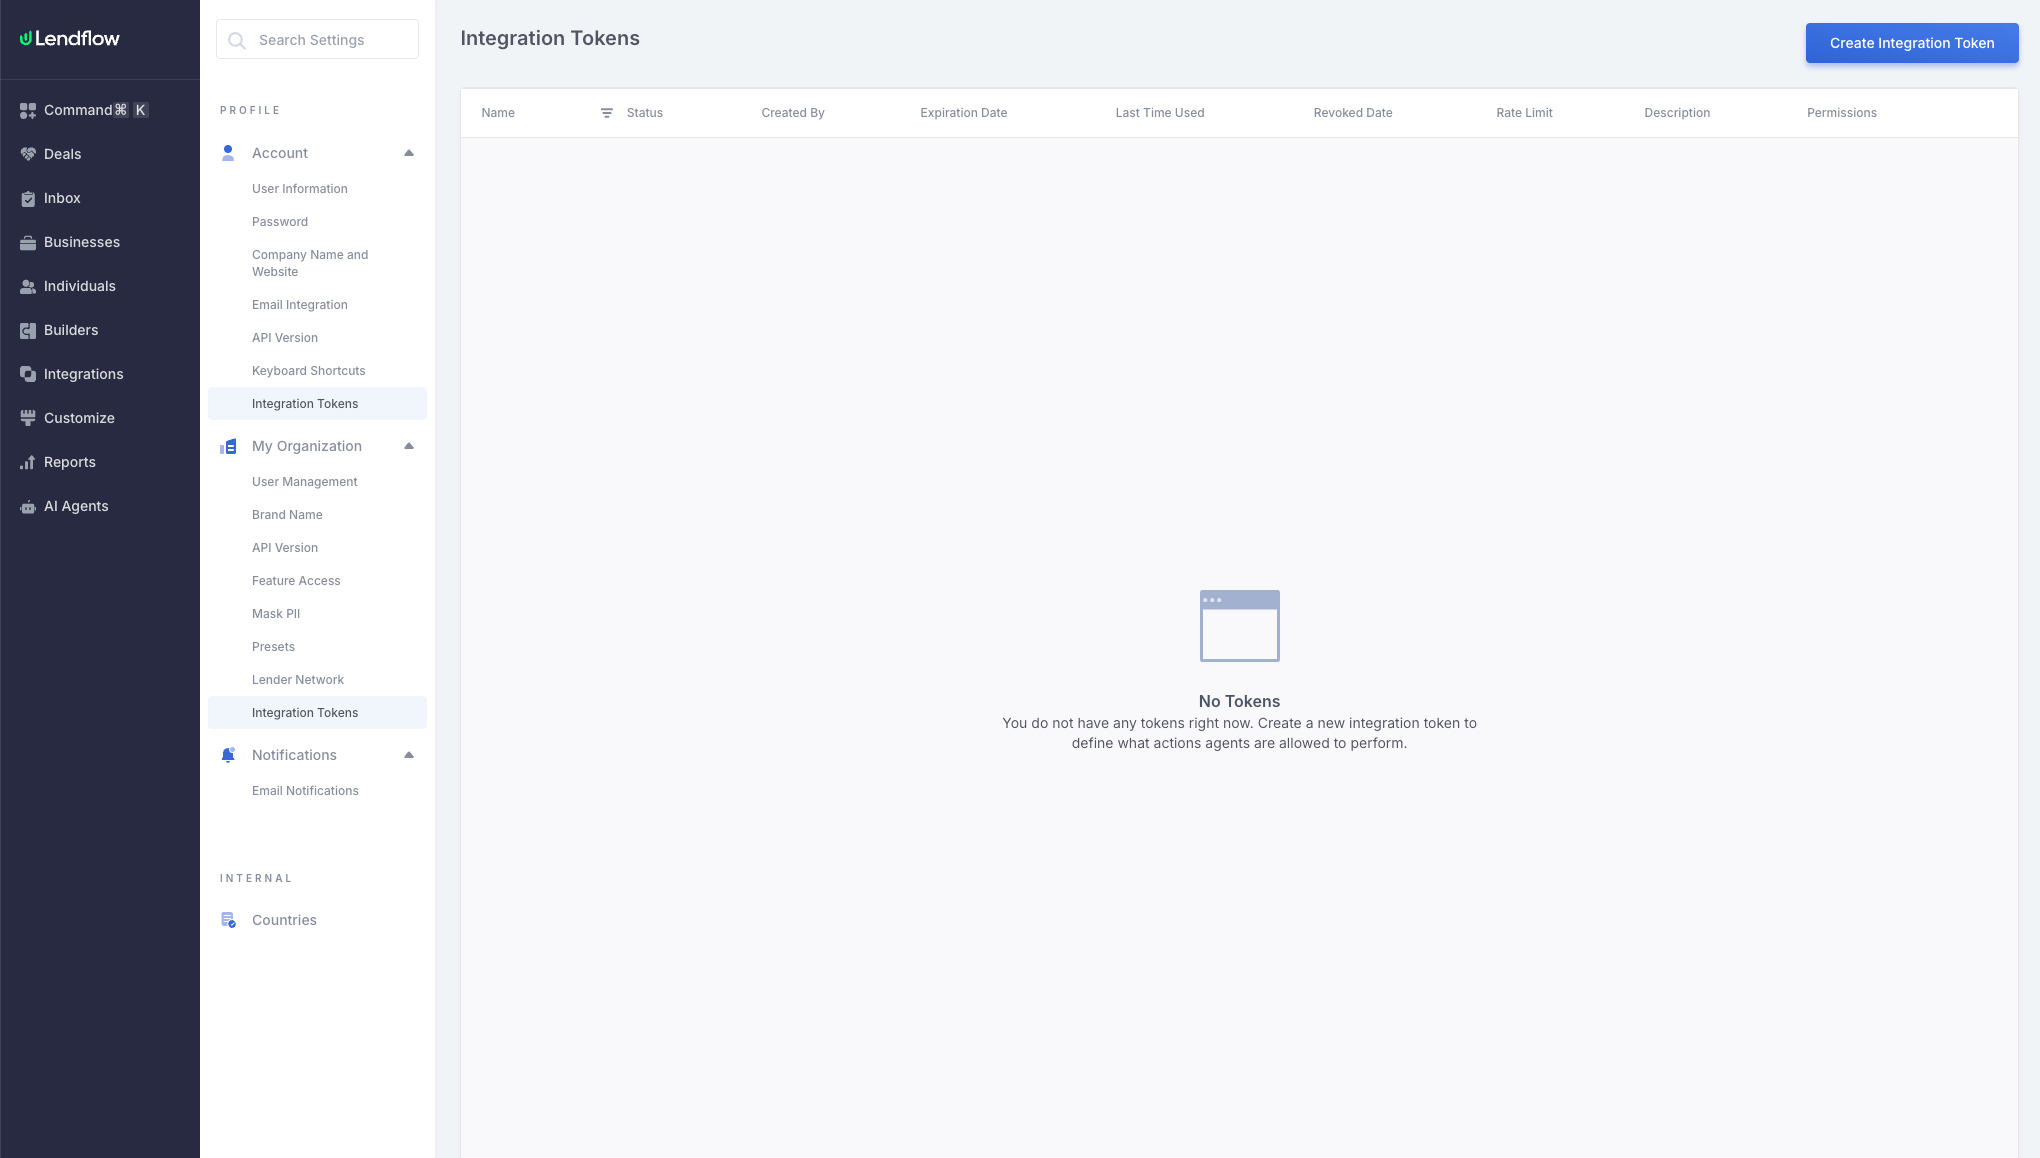
1. Open your profile in Lendflow.
2. Select **Integration Tokens**.
3. Select **Create Integration Token**.
4. Enter a name that identifies where the token will be used, such as `Cursor MCP`.
5. Optionally add a description, expiration date, and rate limit.
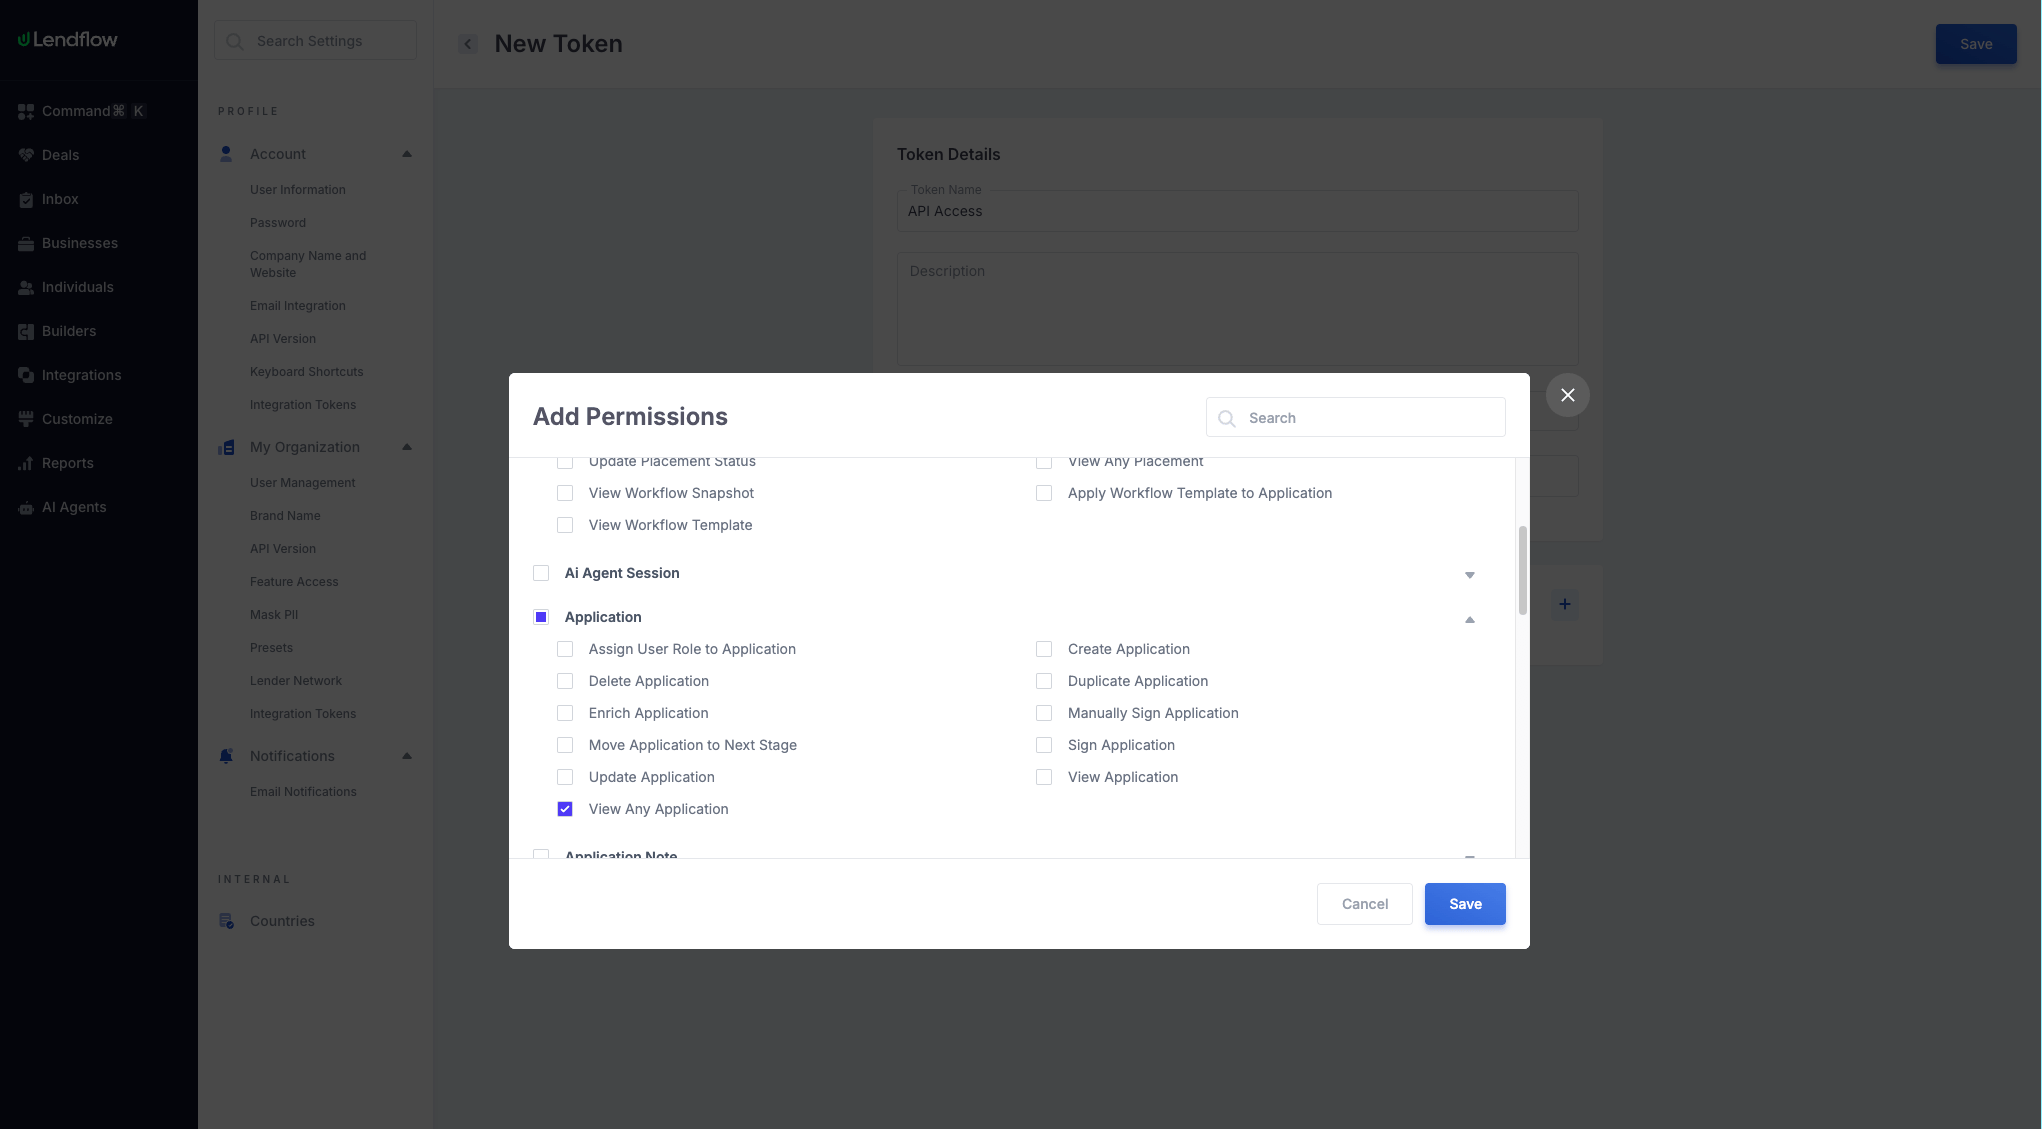
6. Under **Permissions**, select the permissions required by the integration.
7. Select **Save**.
If you do not see **Integration Tokens** or cannot create one, your role may not have permission to manage tokens. Contact your Lendflow administrator.
 ## Select Permissions for MCP
When creating a token for Lendflow MCP, select the **Mcp Server Tools** permission group. This group includes the permissions used by the available MCP tools.
You can remove permissions that the integration does not need. A tool will not be able to perform an action unless the token has the required permission and your Lendflow user role allows that action.
Follow the principle of least privilege: grant only the permissions required for the tasks you plan to perform.
## Select Permissions for MCP
When creating a token for Lendflow MCP, select the **Mcp Server Tools** permission group. This group includes the permissions used by the available MCP tools.
You can remove permissions that the integration does not need. A tool will not be able to perform an action unless the token has the required permission and your Lendflow user role allows that action.
Follow the principle of least privilege: grant only the permissions required for the tasks you plan to perform.
 ## Copy and Store the Token
After the token is created, Lendflow displays its value once.
1. Select the copy button.
2. Store the token in your MCP client's secure configuration.
3. Select **Done** after confirming that the token was saved.
Treat an Integration Token like a password. Do not share it in messages, include it in screenshots, or commit it to source control. If a token is exposed, revoke it immediately and create a replacement.
If you leave the page without copying the token, its value cannot be displayed again. Create a new token and revoke the old one.
## Expiration and Rate Limits
You can set an expiration when creating or editing an active token. Shorter expiration periods reduce risk for temporary integrations. Leaving the field blank creates a token without an expiration date.
The optional rate limit controls the maximum number of API requests the token can make per minute. Leave it blank to use the default limit.
## Manage Existing Tokens
The Integration Tokens page shows each token's status, creator, expiration, last use, rate limit, description, and permissions.
* **Active** tokens can authenticate connected tools.
* **Expired** tokens can no longer authenticate.
* **Revoked** tokens are permanently disabled.
Use the action menu for an active token to edit it or revoke it. Revoking a token immediately disconnects integrations that use it.
**API alternative:** Use [Create Personal Access Token](/api-reference/access-tokens/create-personal-access-token), [List Personal Access Tokens](/api-reference/access-tokens/list-personal-access-tokens), [Update Personal Access Token](/api-reference/access-tokens/update-personal-access-token), and [Revoke Personal Access Token](/api-reference/access-tokens/revoke-personal-access-token) to manage tokens programmatically. The plain-text token is returned only when it is created.
## Troubleshooting
### The token is not shown after creation
Token values are displayed only once. Create a replacement token and revoke the token whose value was not saved.
### The integration returns an authentication error
Confirm that the token was copied completely and has not expired or been revoked.
### An MCP action is unavailable
Confirm that the token includes the required permission. Your Lendflow role must also allow the action. Some MCP tools are available only to specific roles.
## Next steps
Choose which token to use and how to send it on API requests.
Add the Integration Token to your MCP client.
Read status codes and the `message` / `errors` body on a failed request.
Authenticate, submit an application, and embed the Application Widget or Borrower Platform.
## Copy and Store the Token
After the token is created, Lendflow displays its value once.
1. Select the copy button.
2. Store the token in your MCP client's secure configuration.
3. Select **Done** after confirming that the token was saved.
Treat an Integration Token like a password. Do not share it in messages, include it in screenshots, or commit it to source control. If a token is exposed, revoke it immediately and create a replacement.
If you leave the page without copying the token, its value cannot be displayed again. Create a new token and revoke the old one.
## Expiration and Rate Limits
You can set an expiration when creating or editing an active token. Shorter expiration periods reduce risk for temporary integrations. Leaving the field blank creates a token without an expiration date.
The optional rate limit controls the maximum number of API requests the token can make per minute. Leave it blank to use the default limit.
## Manage Existing Tokens
The Integration Tokens page shows each token's status, creator, expiration, last use, rate limit, description, and permissions.
* **Active** tokens can authenticate connected tools.
* **Expired** tokens can no longer authenticate.
* **Revoked** tokens are permanently disabled.
Use the action menu for an active token to edit it or revoke it. Revoking a token immediately disconnects integrations that use it.
**API alternative:** Use [Create Personal Access Token](/api-reference/access-tokens/create-personal-access-token), [List Personal Access Tokens](/api-reference/access-tokens/list-personal-access-tokens), [Update Personal Access Token](/api-reference/access-tokens/update-personal-access-token), and [Revoke Personal Access Token](/api-reference/access-tokens/revoke-personal-access-token) to manage tokens programmatically. The plain-text token is returned only when it is created.
## Troubleshooting
### The token is not shown after creation
Token values are displayed only once. Create a replacement token and revoke the token whose value was not saved.
### The integration returns an authentication error
Confirm that the token was copied completely and has not expired or been revoked.
### An MCP action is unavailable
Confirm that the token includes the required permission. Your Lendflow role must also allow the action. Some MCP tools are available only to specific roles.
## Next steps
Choose which token to use and how to send it on API requests.
Add the Integration Token to your MCP client.
Read status codes and the `message` / `errors` body on a failed request.
Authenticate, submit an application, and embed the Application Widget or Borrower Platform.