

Borrower Platform
The Borrower Platform is the applicant-facing portal that Lendflow hosts. After applicants start an application, they can open the Borrower Platform to follow the application’s progress and status, see their funding advisor’s contact information, upload documents, review offers, and complete checkout. This guide explains how to design that experience: templates (welcome page, tabs, footer) and workflow-level stage copy. A custom template is not required. If no custom template exists, a default Borrower Platform template is used. To generate a Borrower Platform link or embed snippet, go to Embed The Borrower Platform Into Your Product. To log applicants in from your own product with a JWT, go to Authenticate Users Against The Borrower Platform.How applicants sign in
Applicants can open the Borrower Platform in these ways:
Branding for the portal and for Borrower Platform emails is selected on the Integrations tab in the left-side menu, then Borrower Platform. Create those brands in the Customize tab in the left-side menu. If you select None, Lendflow branding is used.
Create a Borrower Platform template
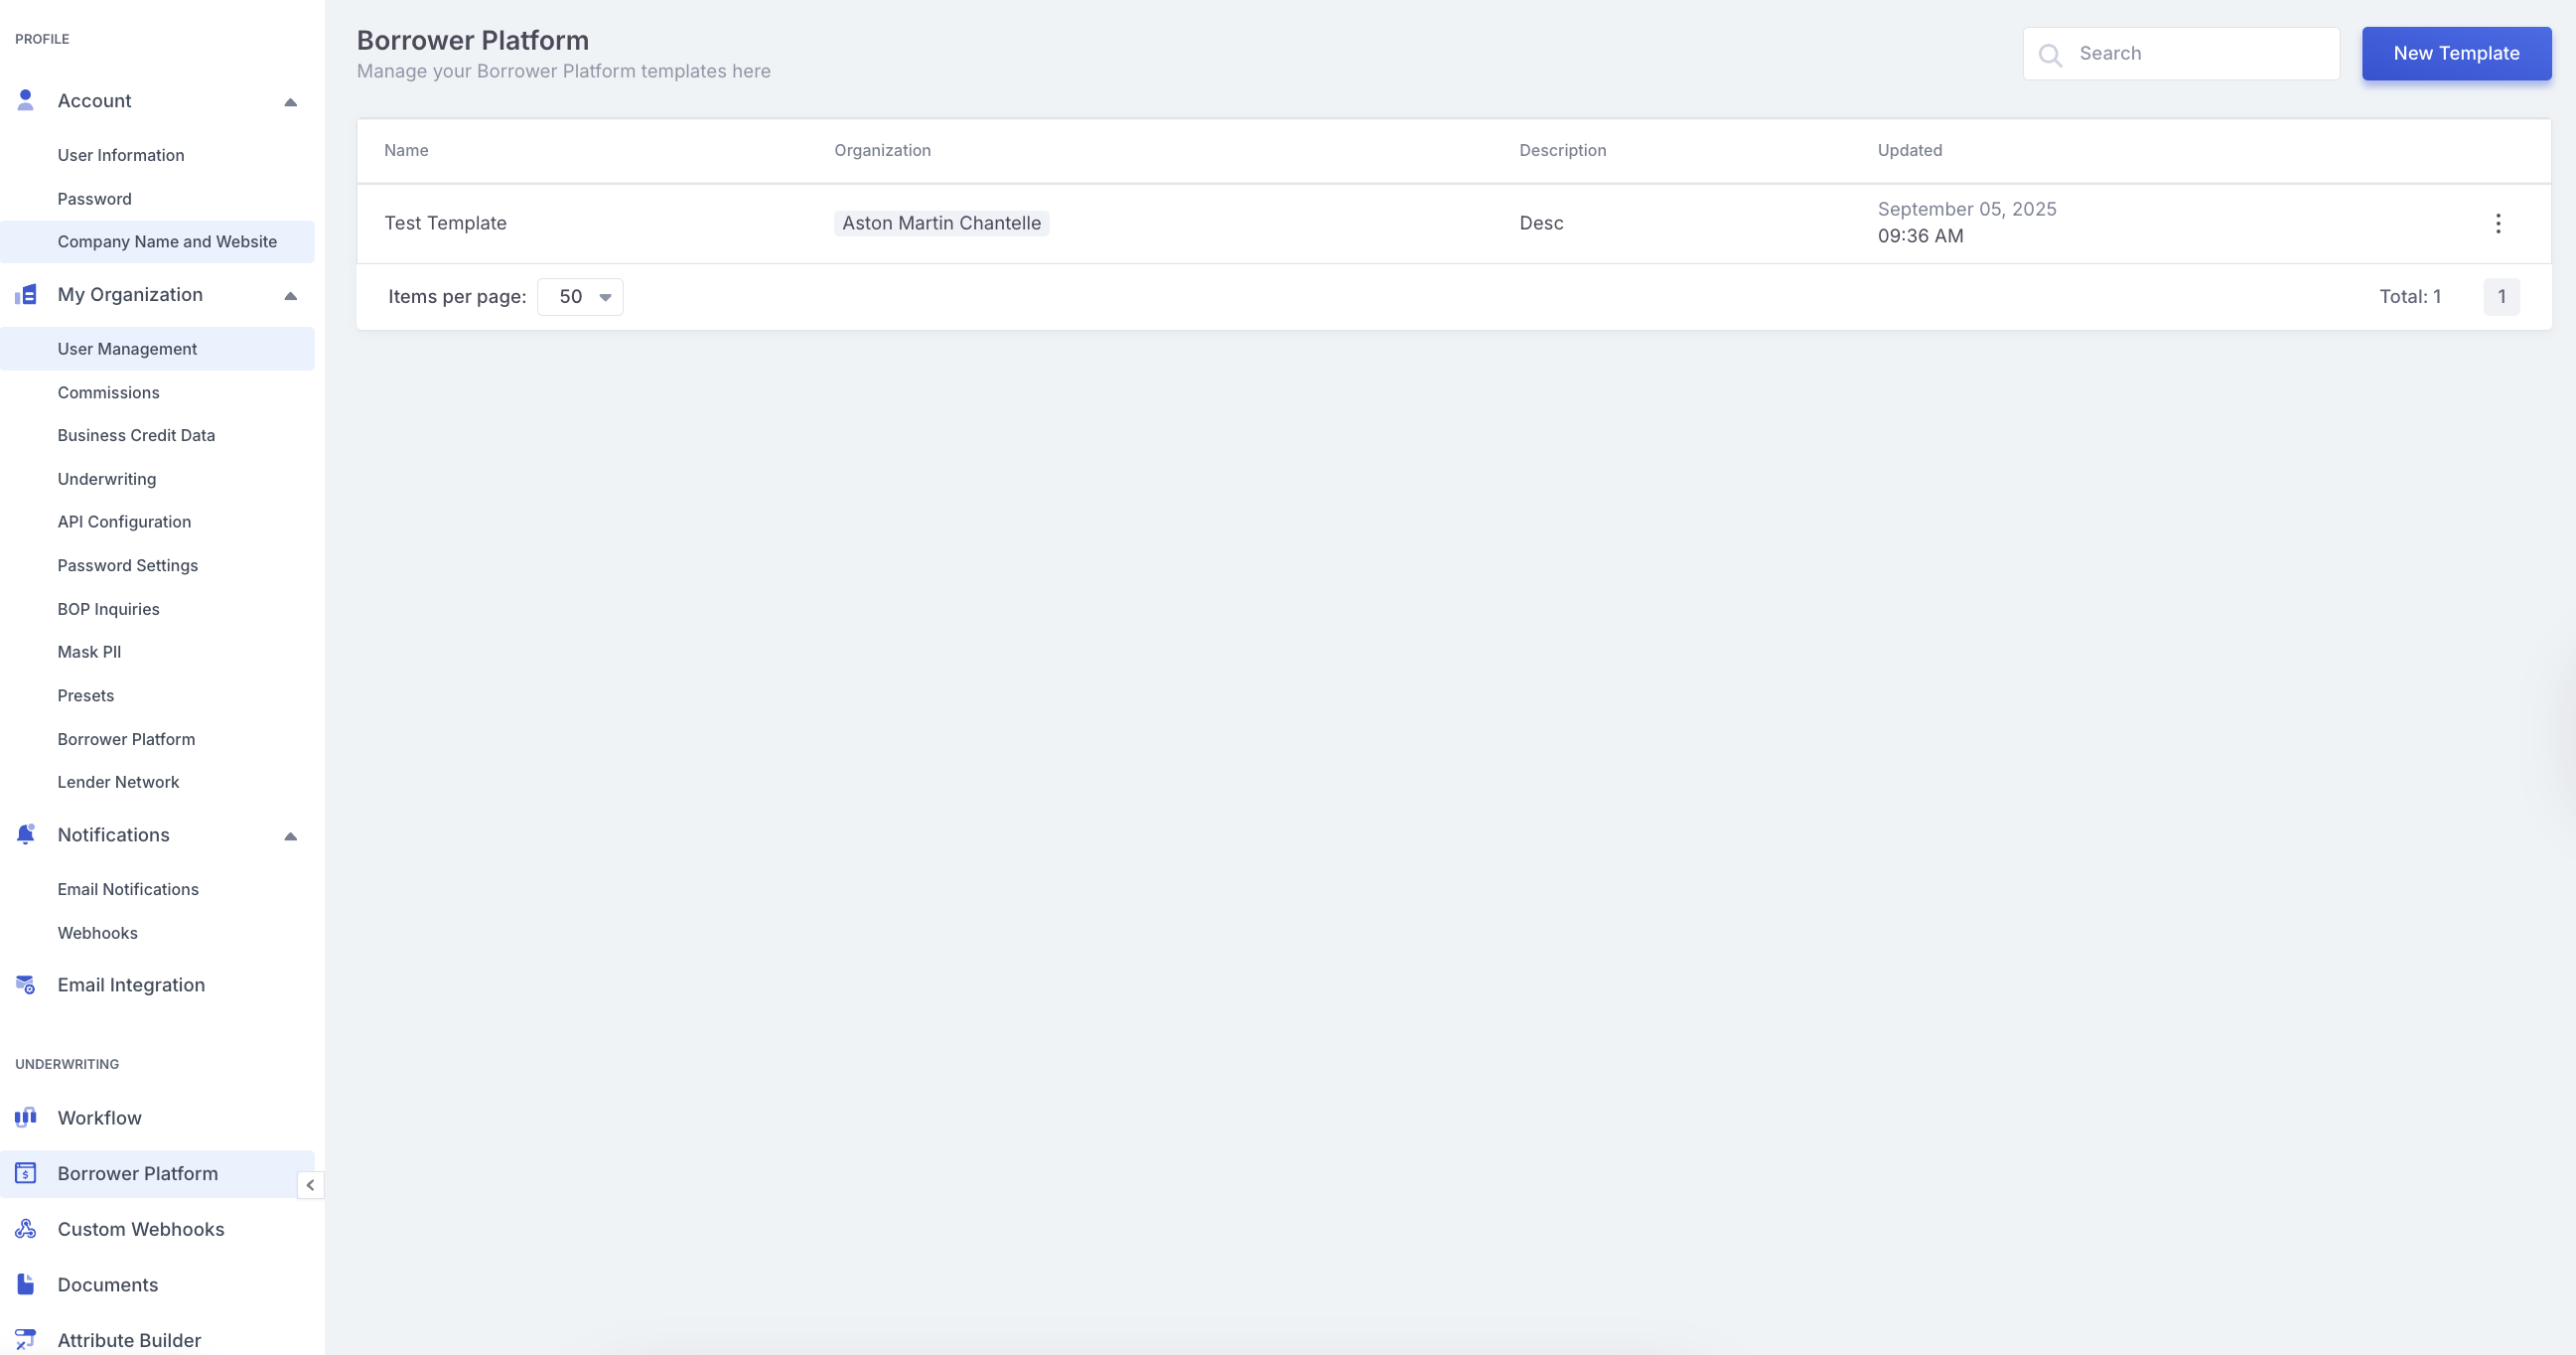
A custom template is optional. Create one when you want to change the welcome page, the tabs applicants see after they log in, or the footer. You can attach the same template to more than one workflow. If you do not create a custom template, the default Borrower Platform template is used.- Log in to Lendflow. In the left-side menu, open the Builders tab, then open Borrower Platform.
- Click New Template.
- Enter a Template Name and Description, then click Create. The template editor opens.
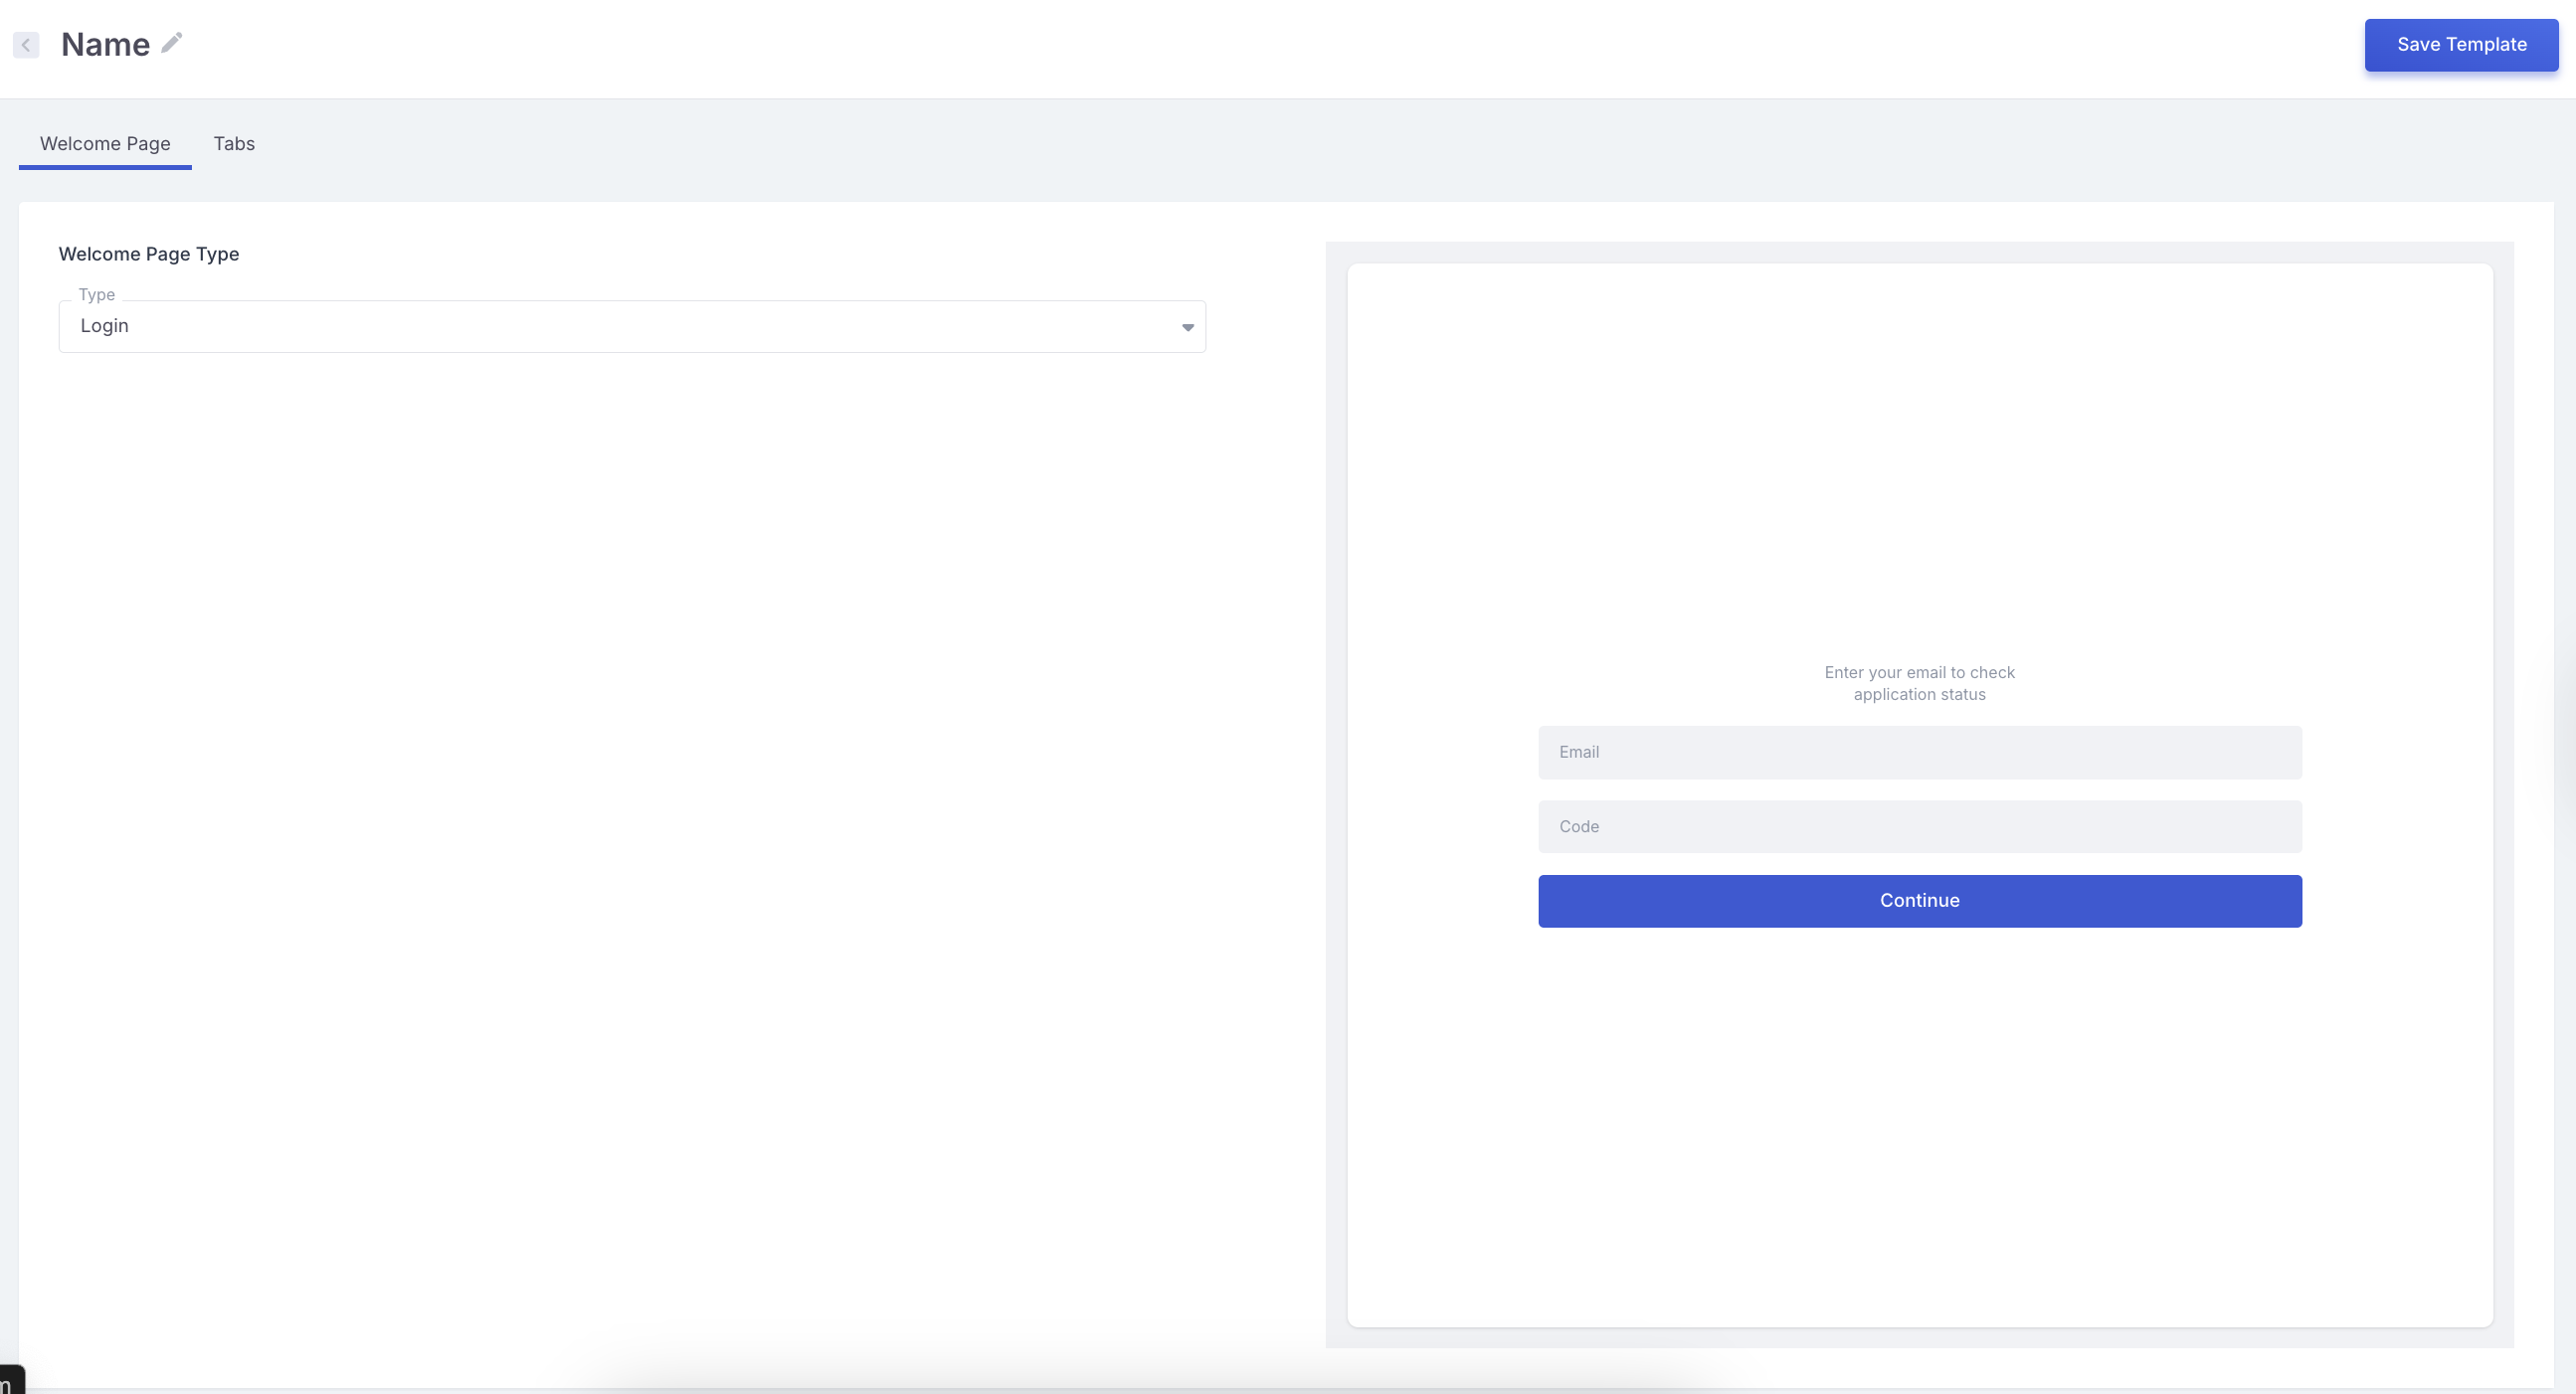
Welcome Page
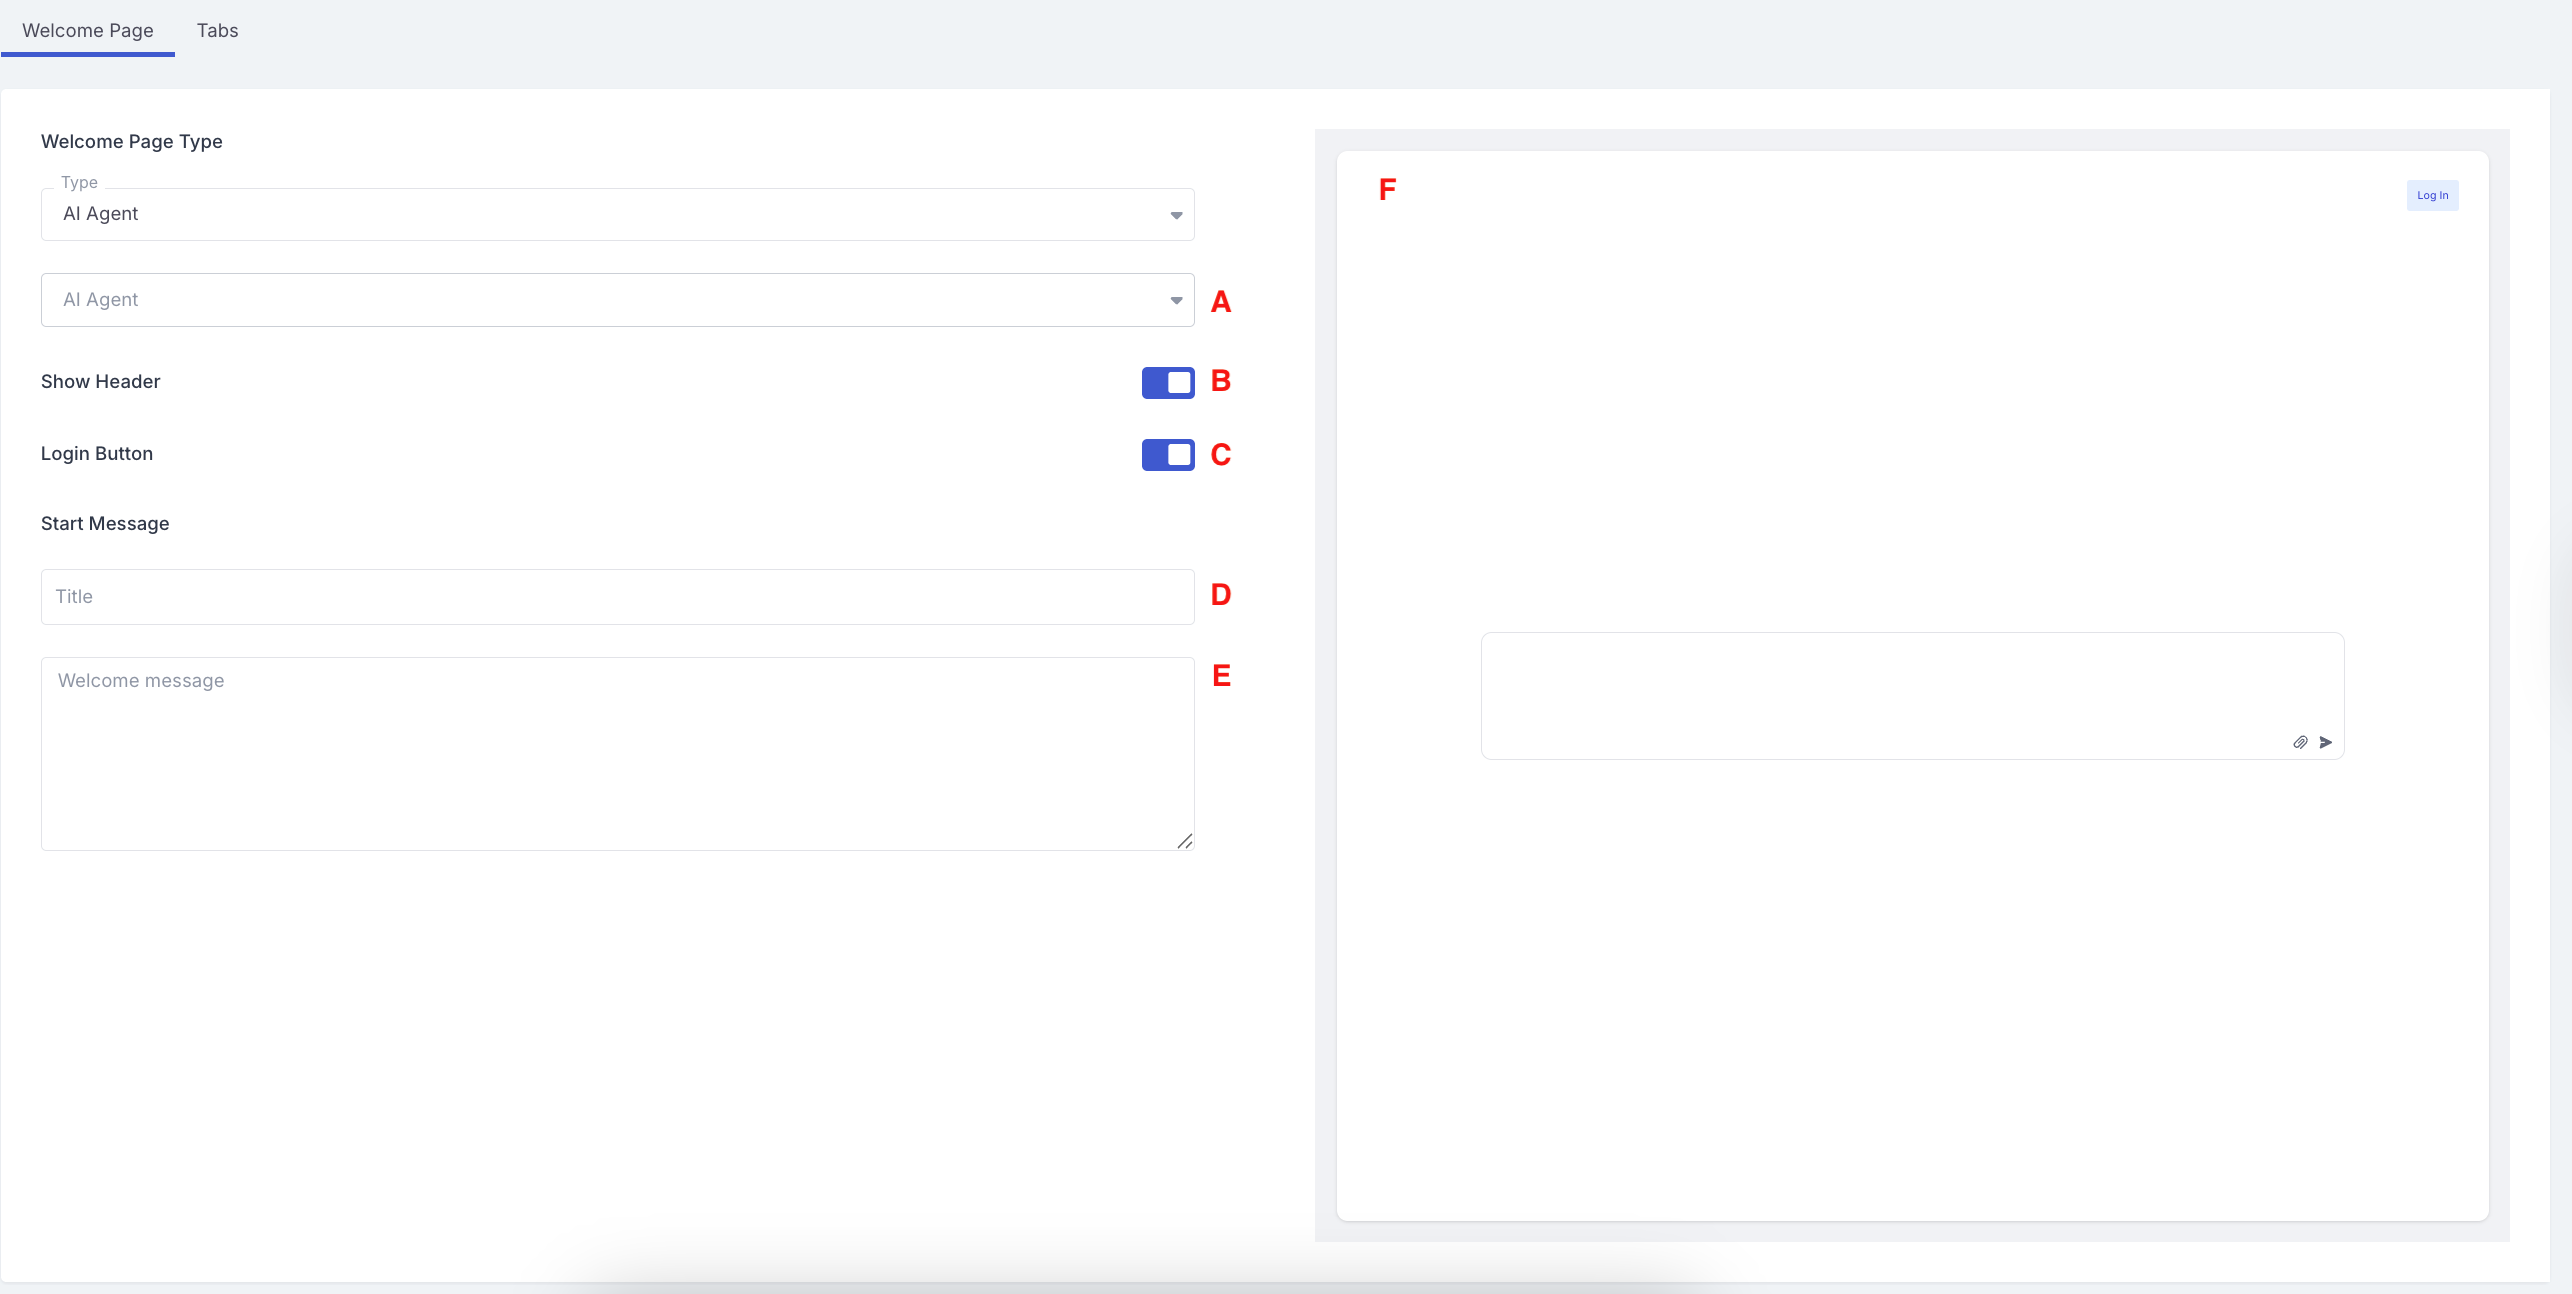
Welcome Page Type is either Login or AI Agent.
If you select AI Agent, you can set:
Tabs
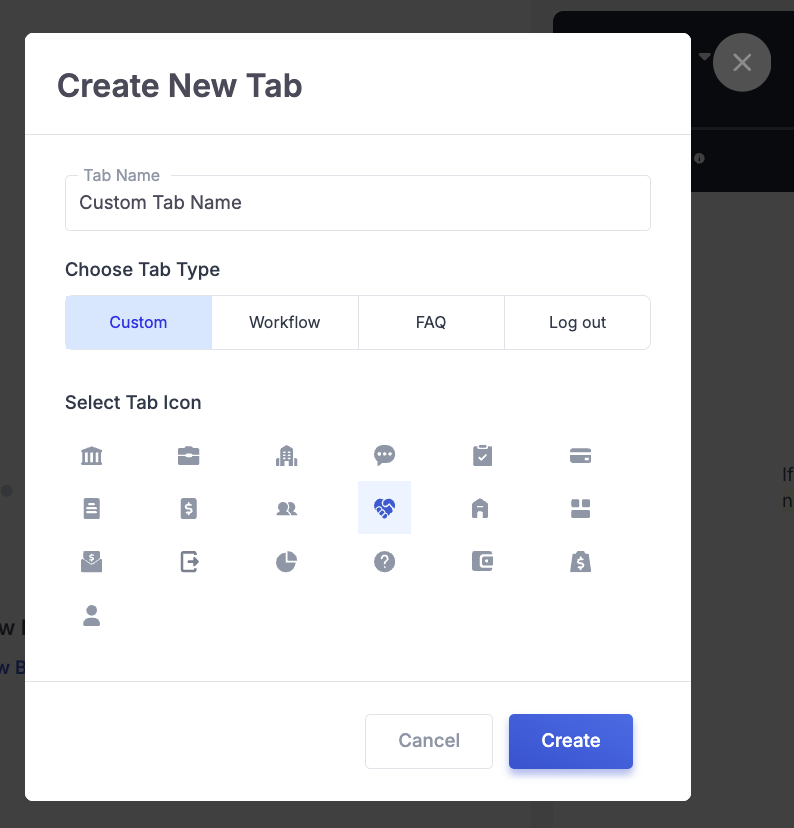
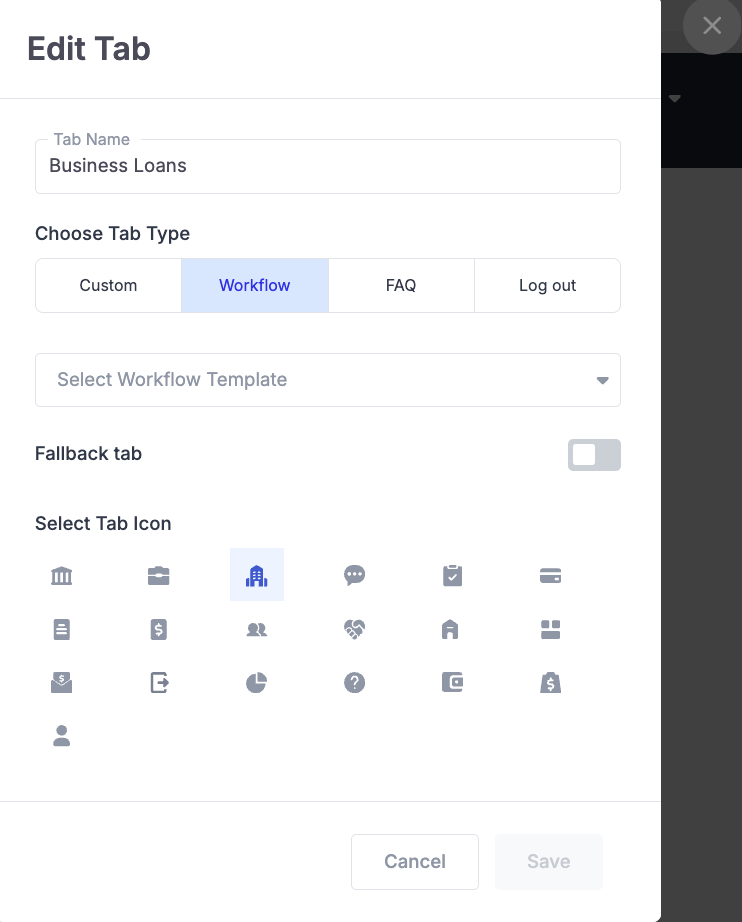
Tabs are what applicants see after they log in. A new template includes a Welcome Page set to Login, a Workflow tab named Business Loans that is marked as the fallback tab, plus Documents and Profile tabs. You can add, edit, or delete tabs. To add a tab, click the + control under the existing tabs, then set Tab Name, Choose Tab Type, and Select Tab Icon.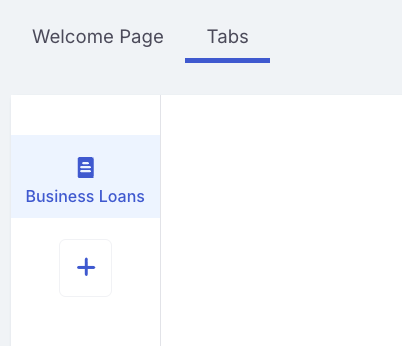
Footer
Open Footer and turn on Enable the Footer if you want a footer on the Borrower Platform. Edit the footer copy in that section, then save the template.Attach a template
Create the template first. Then choose where it is used.Deal-level link
Open the deal from the Deals tab in the left-side menu. Open the Application Links tab, then generate a Borrower Platform link. Select Borrower Platform Template (and a tab, if the dropdown appears). The link is for that deal only. For access to all of an applicant’s deals, copy the link from the Integrations tab in the left-side menu, then Borrower Platform.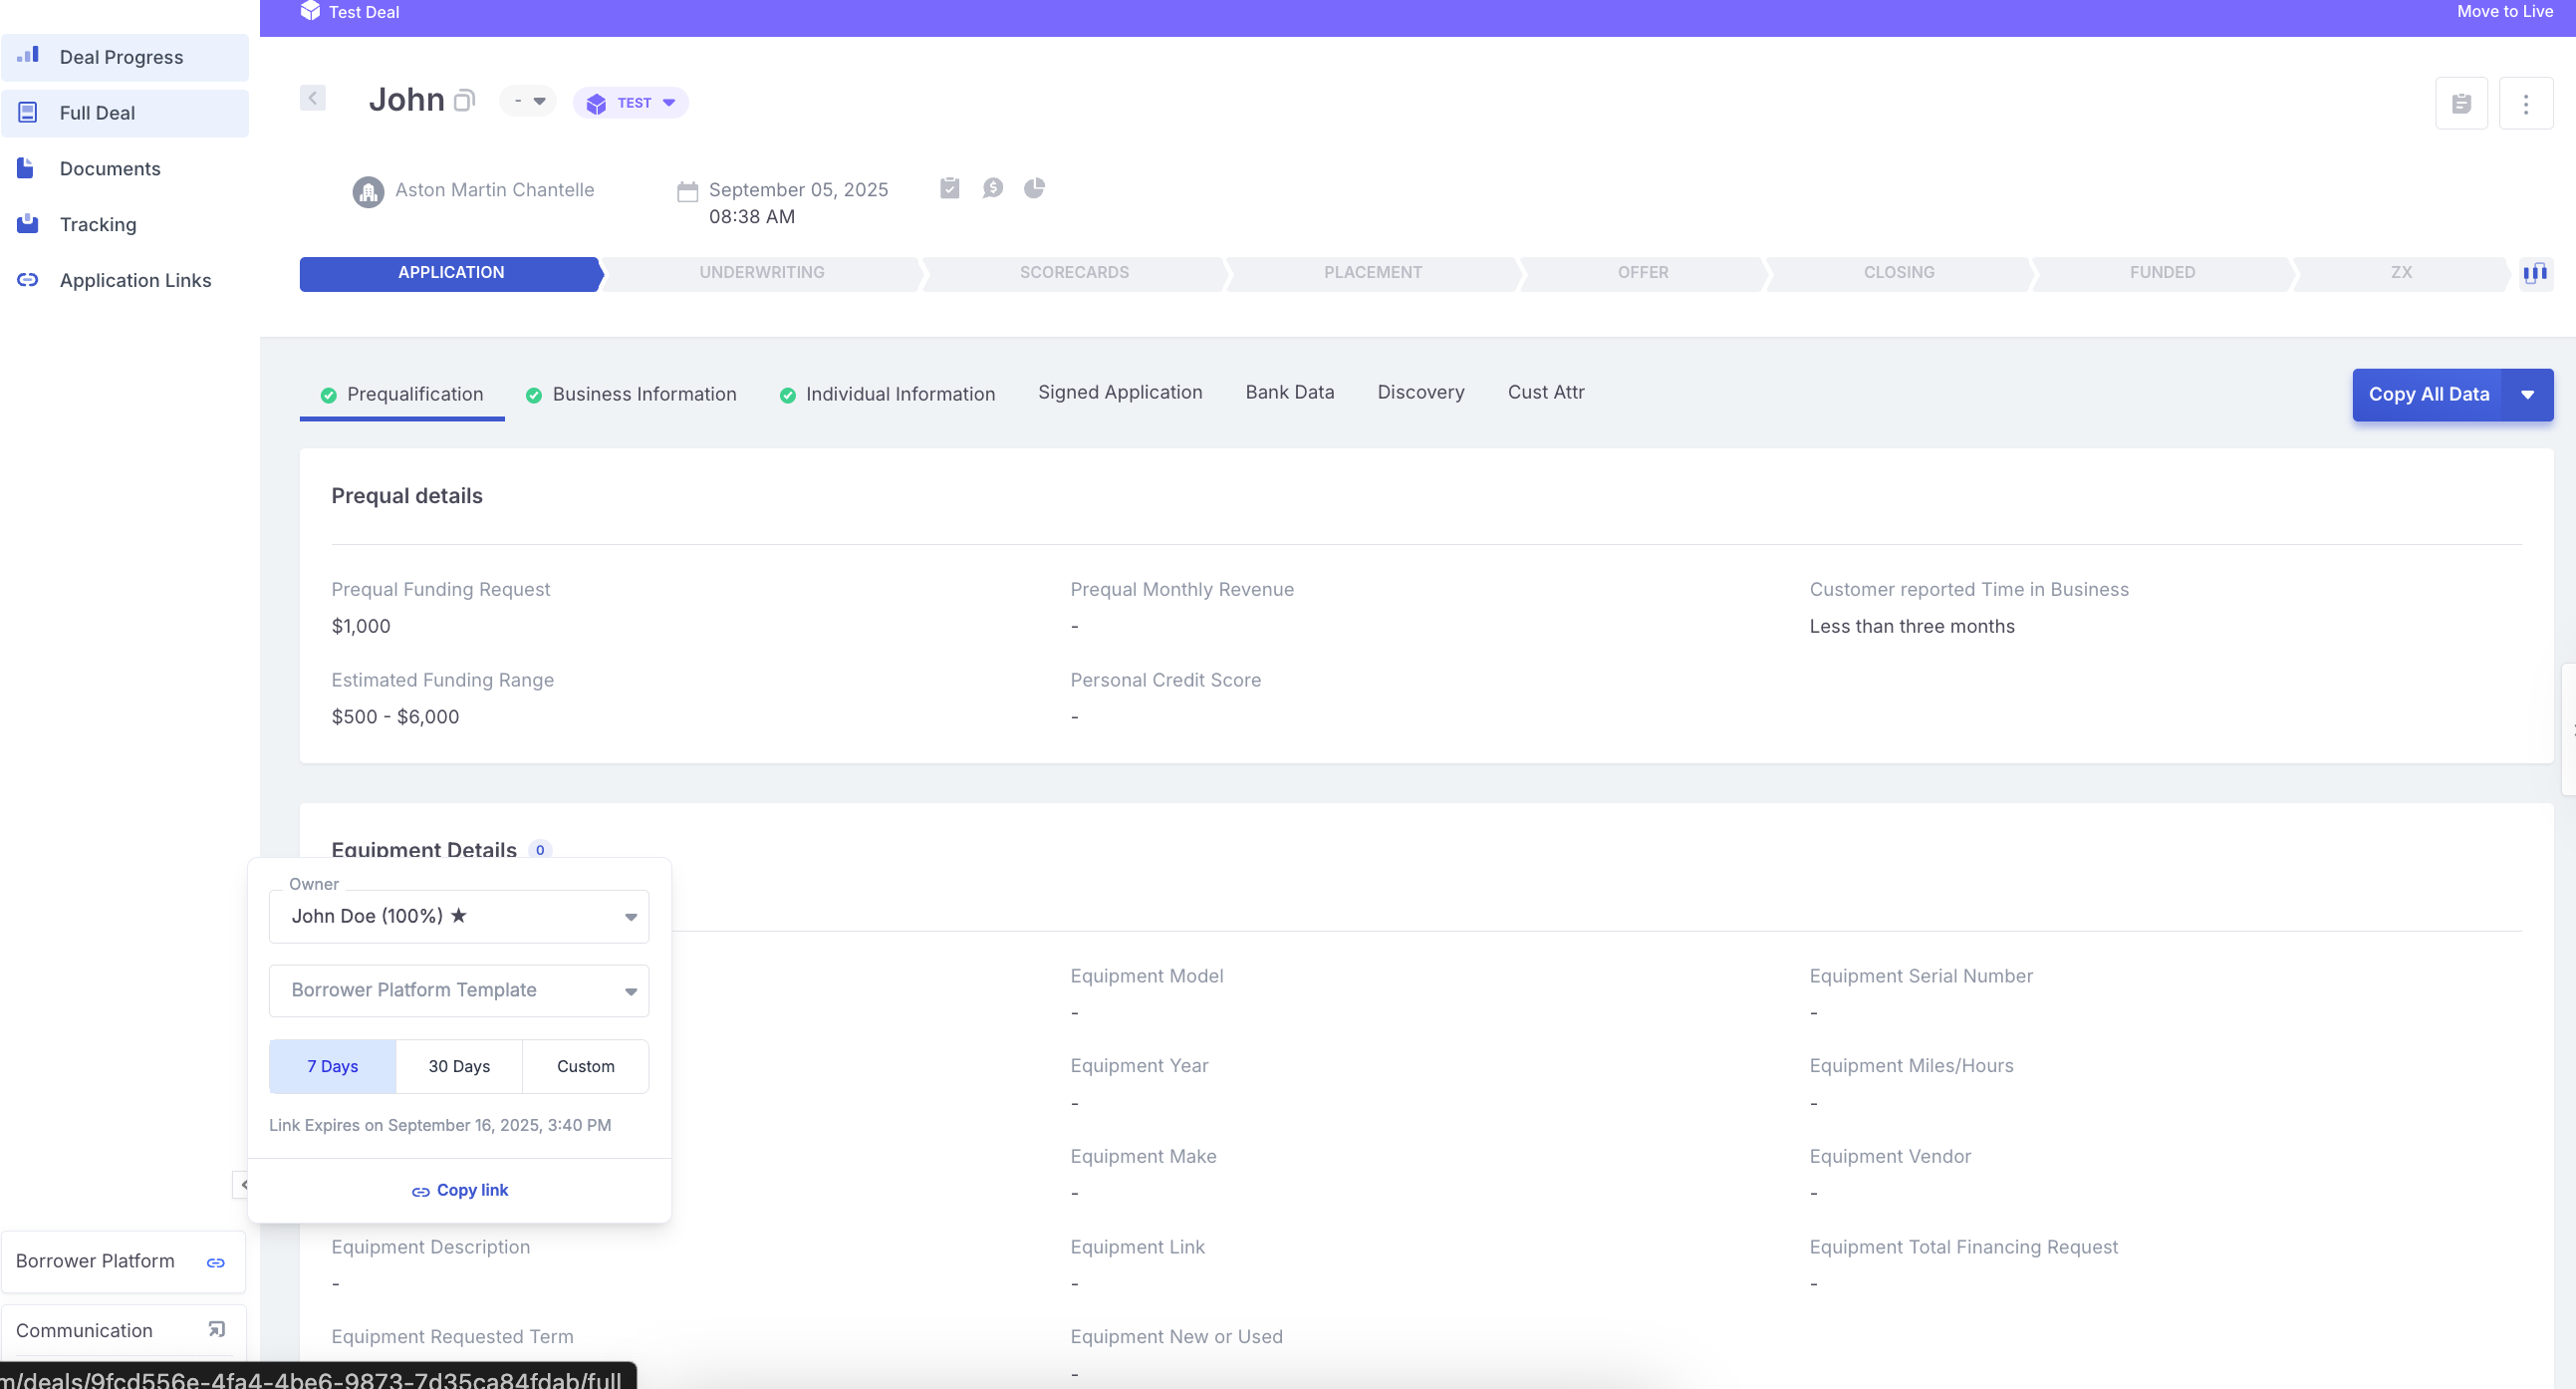
Embed and shared link
In the left-side menu, open the Integrations tab, then open Borrower Platform. Under Set Borrower Platform Template, select the template. The generated Borrower Platform link and integration script use that template.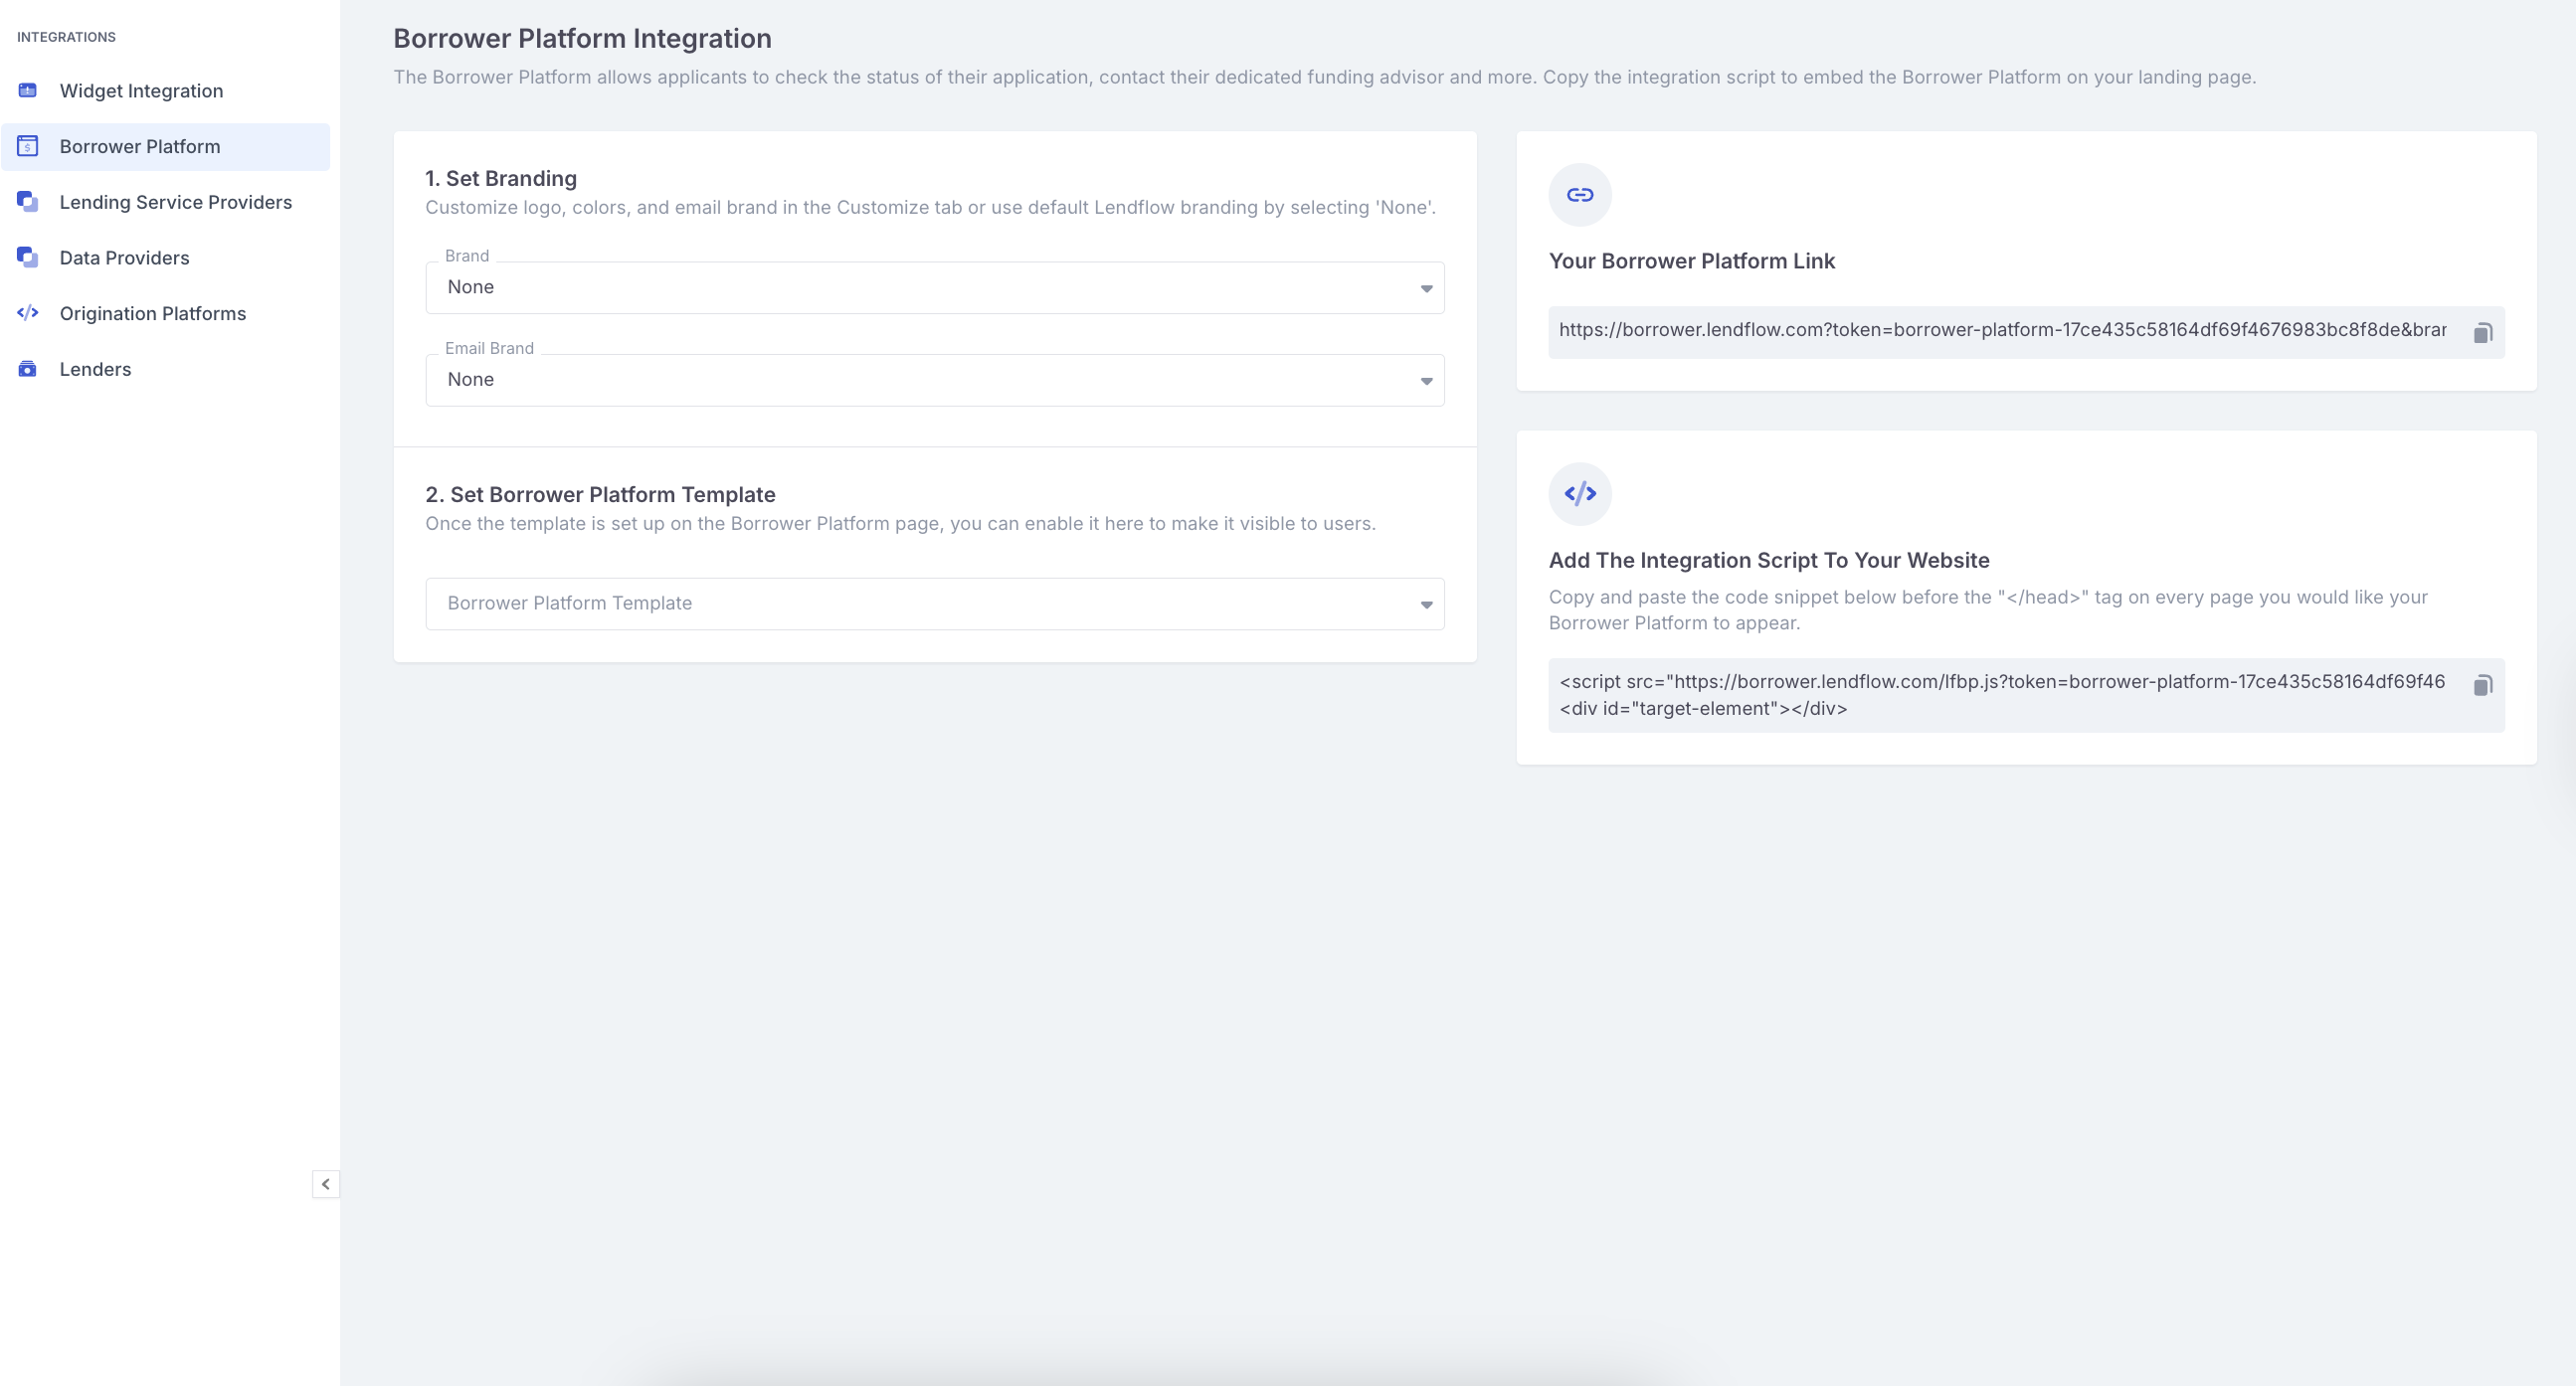
Workflow default
Open the workflow template (see Customize stages on a workflow). Turn on Use Custom Borrower Platform Template, then select Select Default BP Template. If a deal-level Borrower Platform link is generated without a template selected, this default is used.
Customize stages on a workflow
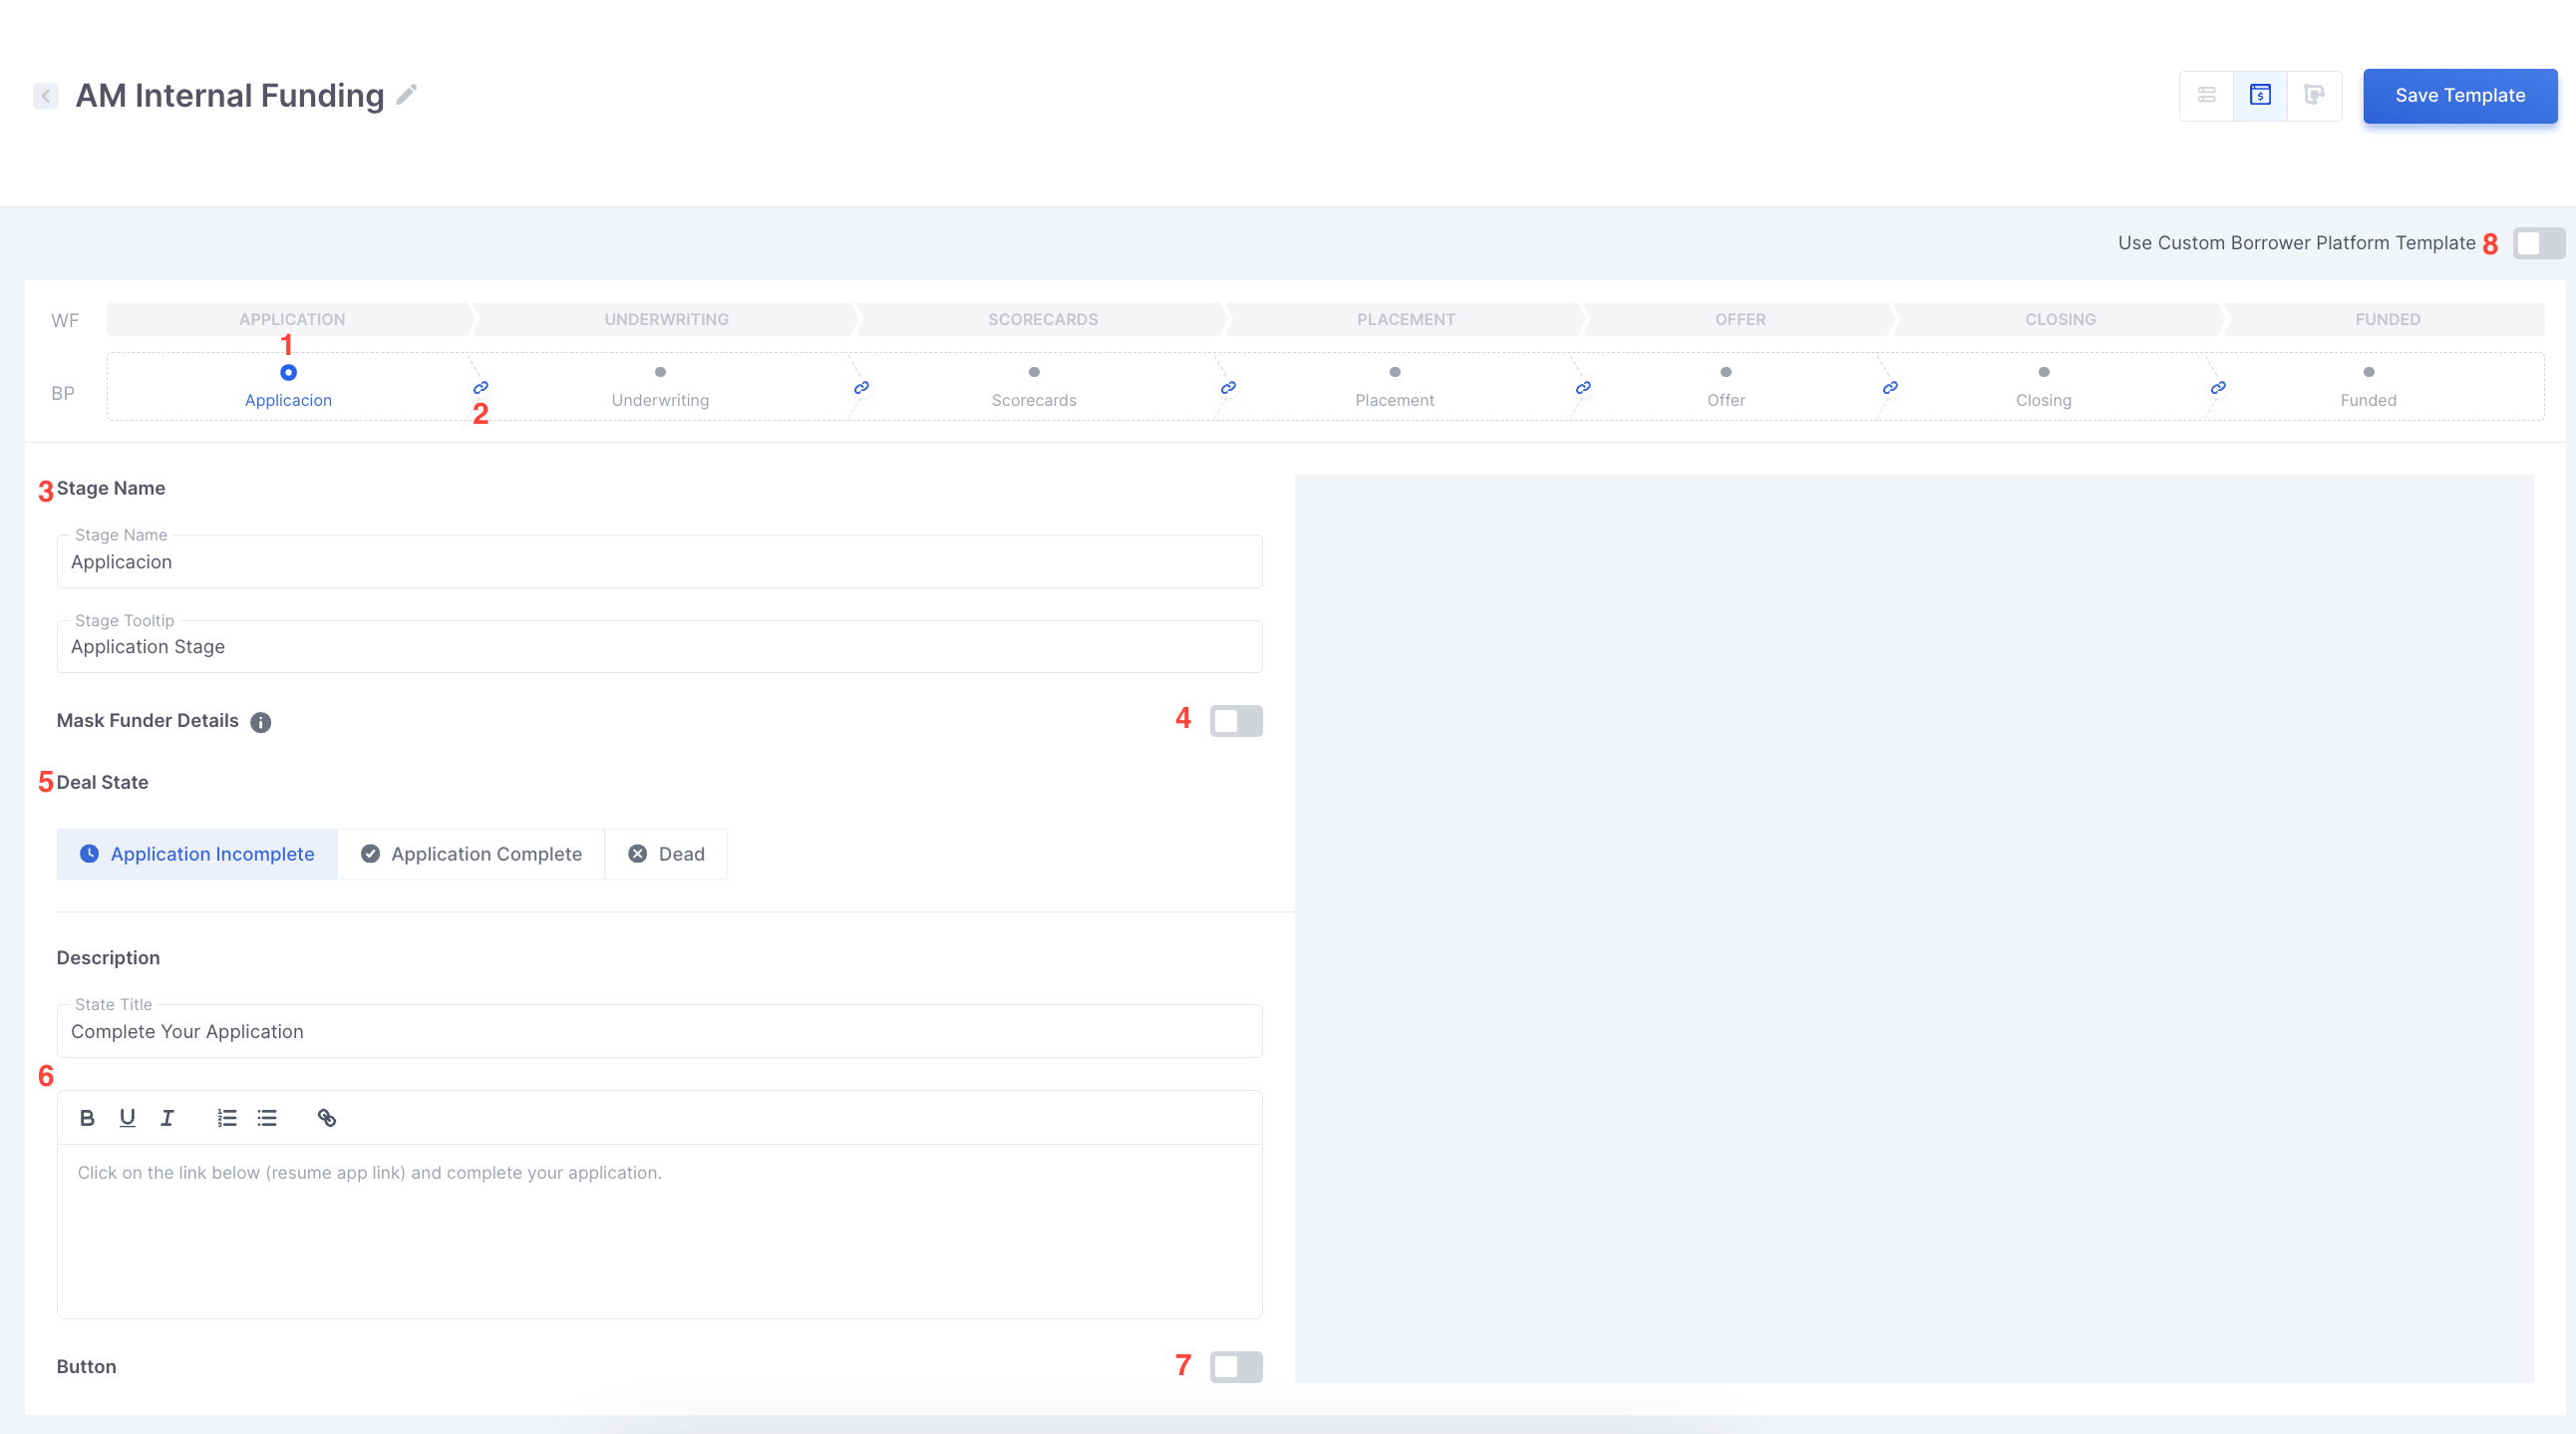
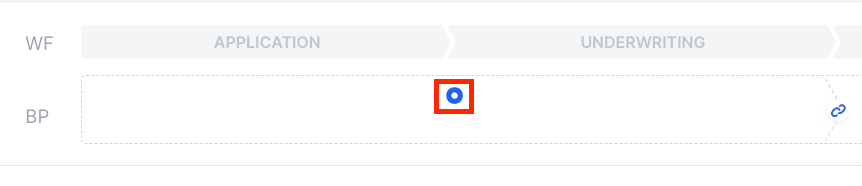
Stage names, tooltips, deal-state copy, and which workflow stages appear as one Borrower Platform stage are set on the workflow template, not on the Borrower Platform template list.- Log in to Lendflow. In the left-side menu, open the Builders tab, then open Workflow.
- Open the workflow template you want applicants to see.
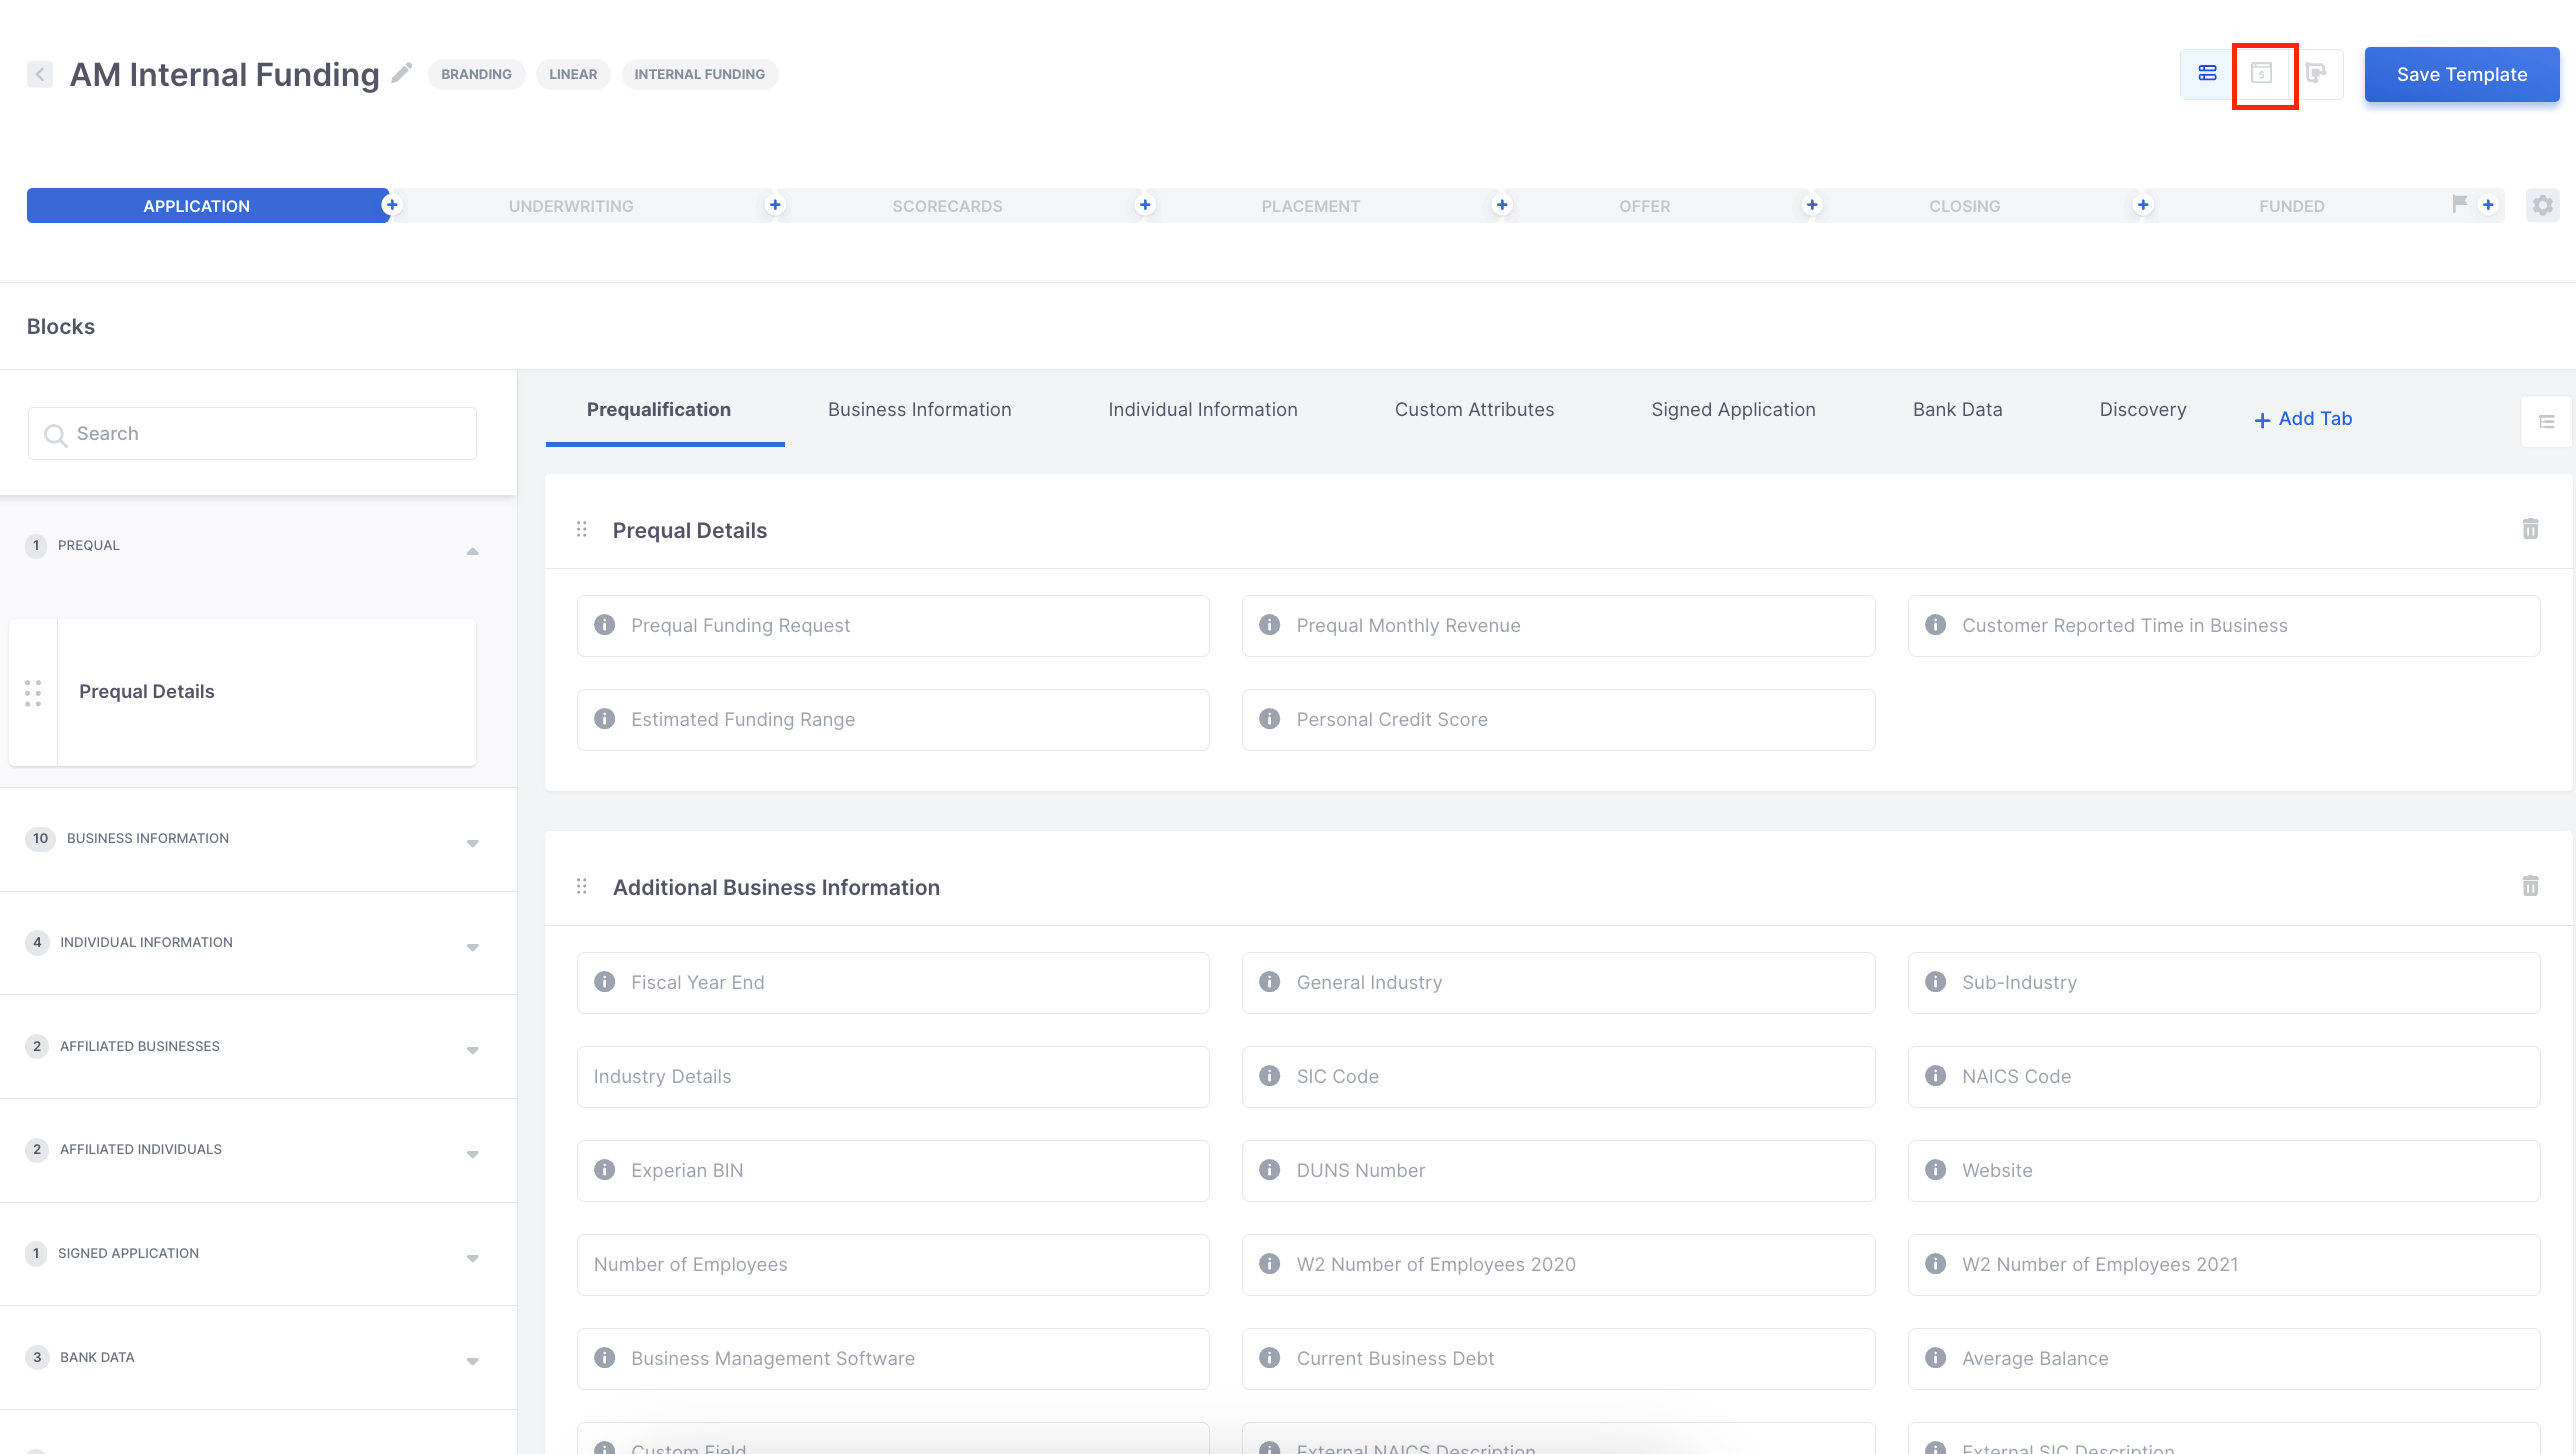
- In the view switcher at the top of the template, click the Borrower Platform icon.
- Turn on Use Custom Borrower Platform Template. If this toggle is off, applicants see the default Borrower Platform values for this workflow, not your custom copy or joined stages.
- Optionally select Select Default BP Template so deal-level links can use that template when none is selected.
- Edit the stages, then click Save Template.
FAQ
Where do I preview what applicants will see?
Where do I preview what applicants will see?
Preview on the right side of the template editor (Builders tab in the left-side menu, then Borrower Platform, then open a template). Preview stages on the right side of the workflow’s Borrower Platform view (Builders tab in the left-side menu, then Workflow, open the template, then the Borrower Platform icon).
I created a template. Why do applicants still see the default Borrower Platform?
I created a template. Why do applicants still see the default Borrower Platform?
Creating a template does not apply it by itself. Choose the place that matches how applicants open the Borrower Platform, then select the template there:
- Shared link or embed. In the left-side menu, open the Integrations tab, then open Borrower Platform, and select the template under Set Borrower Platform Template.
- One deal. Open the deal from the Deals tab in the left-side menu, open the Application Links tab, generate a Borrower Platform link, and select Borrower Platform Template.
- Workflow default. In the left-side menu, open the Builders tab, then open Workflow, open the workflow template, and click the Borrower Platform icon. Turn on Use Custom Borrower Platform Template, select Select Default BP Template, and click Save Template. That default is used when a deal-level link is generated without a template selected.
What is the difference between a Borrower Platform template and Workflow Builder customization?
What is the difference between a Borrower Platform template and Workflow Builder customization?
The template is the shell: welcome page, tabs, and footer. Workflow Builder Borrower Platform customization is the deal progress inside a Workflow tab: stage names, joined stages, deal-state copy, funder masking, chatbot, and checkout.
Do applicants always have to enter an email code?
Do applicants always have to enter an email code?
No. Email login is the default when they open the welcome page themselves. A deal-level Borrower Platform link, a widget redirect to the Borrower Platform, or a JWT from your product can identify the applicant without that step. See Embed The Borrower Platform Into Your Product and Authenticate Users Against The Borrower Platform.
Next steps
Embed The Borrower Platform Into Your Product
In the left-side menu, open the Integrations tab, then open Borrower Platform, and add the link or script to your website.
Authenticate Users Against The Borrower Platform
Generate a JWT from your product and pass it when the Borrower Platform launches.
Online Checkout
Configure the checkout process applicants complete on the Borrower Platform.